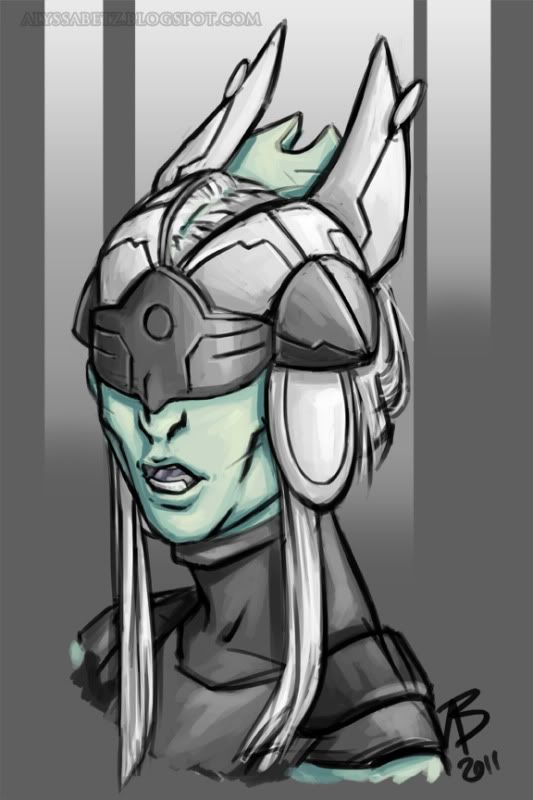
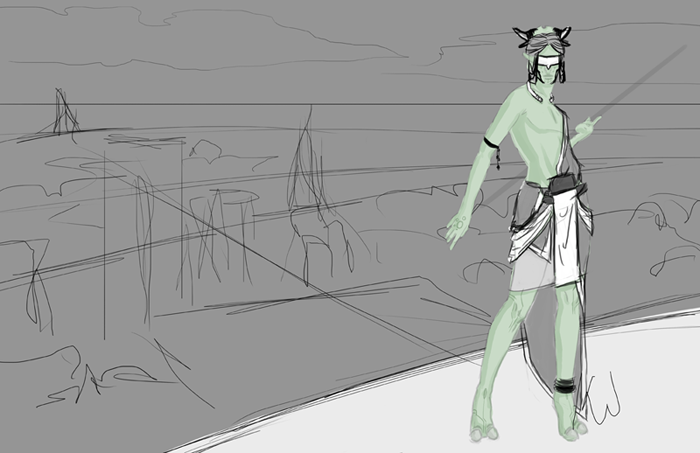
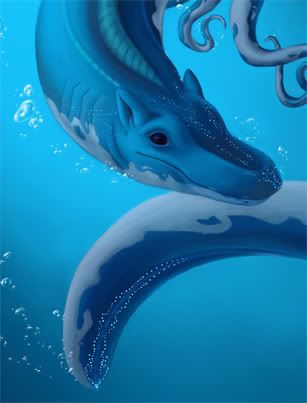
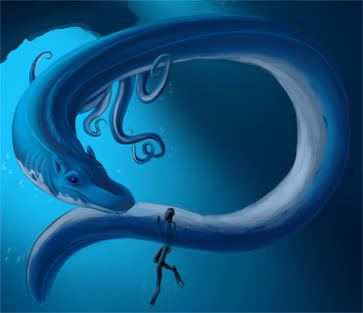
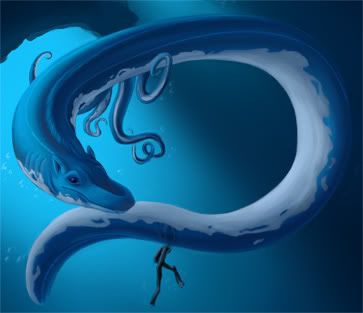
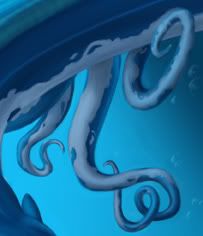
It's been tough finding the time and motivation to paint, lately. So, tonight I sat down and decided to work until I had... something. I started this sketch about a week ago, but hadn't added color. I think this took me about three hours, total?
I don't feel like talking much about the subject of the painting right now, since I'm more focused on the technical aspects of the painting. I feel that my composition could have been better. It was pointed out to me once in a critique that I often have the same sort of POV in most of my paintings, and I can see that here, too--but I think that's something to work on next time.
Showing posts with label alien. Show all posts
Showing posts with label alien. Show all posts
Saturday, March 31, 2012
Thursday, July 21, 2011
7-21 Sketch
I'm working on commissions again, so a lot of what I've been drawing won't be posted for awhile. I do have something new, today, though. Here's a quick 30-min sketch, 30-min color of Seket that I did as a warm-up.
Thursday, July 14, 2011
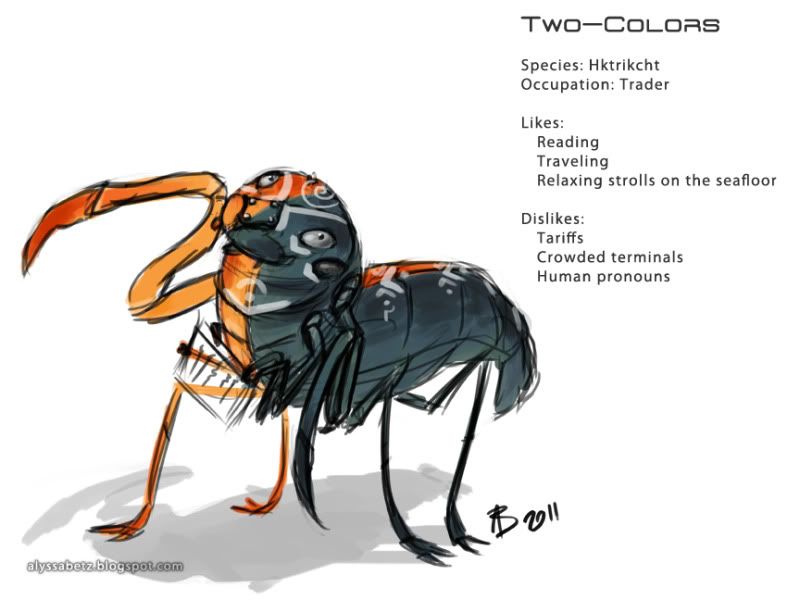
New Species: Hktrikcht
The Hktrikcht are one of the sapient races in my SF project. They are an amphibious and (superficially) arthropod-like species. Some physiological traits, like a complex central nervous system (which has several "brains"), a chambered pulmonary organ in addition to gills, and closed blood vessels, set them apart from insects and crustaceans on earth. An average adult stands at just .7 meters, and generally weighs no more than 25 kg.
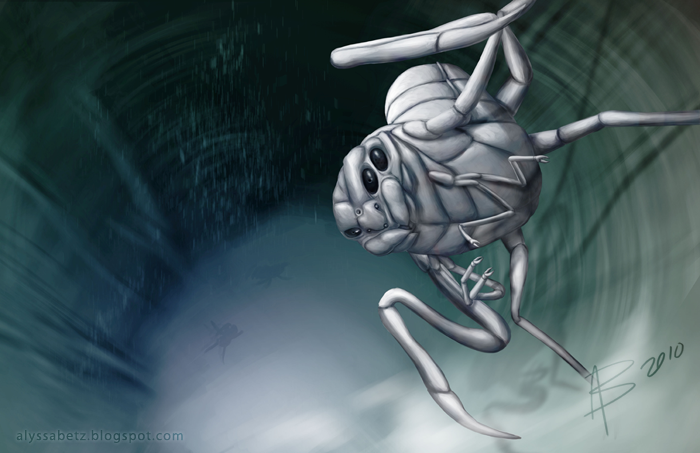 |
| An albinistic individual. (Illustration from senior thesis.) |
Because they are so different, the Hktrikcht are an opportunity to play around with how culture and biology might intersect. For example, the character Two-Colors is a gynandromorph.
Gynandromorphy is not especially common among the Hktrikcht, but it is also not so rare that individuals like Two-Colors are seen as unusual. Their culture accepts more sexes than "just male" and "just female," and most of their languages either have many gender-specific pronouns or don't indicate gender at all. How English-speakers make due with only "he" and "she" baffles them.
I did this quick color sketch last night to try and develop the Hktrikcht and the character Two-Colors a little more. Since almost any kind of clothing would be impractical underwater, the Hktrikcht paint or etch their carapaces. (That's something I didn't have the chance to include in the first illustration, due to time constraints.) Every symbol and pattern has its own meaning, like the spiral, which symbolizes balance. If you can read the symbols, it's easy to tell quite a bit about an individual, such as where they come from, how old they are, and what their occupation is.
For anyone curious about gynandromorphy in real creatures, there's some info on Wikipedia. London's Natural History Museum currently has a gynandromorph butterfly, which you can read about here.
For anyone curious about gynandromorphy in real creatures, there's some info on Wikipedia. London's Natural History Museum currently has a gynandromorph butterfly, which you can read about here.
Labels:
alien,
character pose,
concept,
exobiology,
Hktrikcht,
science fiction
Friday, February 25, 2011
Critters!
It's been awhile since I last posted. I've been busy with commissions, that I'll hopefully be able to post later. In the mean time, here's some personal sketches I've been working on. Alien critters!
I always enjoy having a few "rules" to play by when I create new creatures and characters. It helps keep me focused on important aspects of the design and the opportunity to find creative solutions on how to work within my rules.
One of the rules for this set of xeno-animals is that none of them could have true teeth (the predators' fangs are part of the skull), and they must have scaly, avian/reptilian feet. With just those two rules, I've made five different creatures, each with its own niche. Hopefully, their roles will be clear from their designs. (Click the image for a bigger view.)
- The nova-frill is a small arboreal creature that eats fruits and nuts. Its brightly colored frill changes color and fans out to frighten predators.
- The poiga is an herbivore that lives in lowland jungles and marshes.
- The firetail is a pack predator and scavenger that inhabits grasslands. Males have a brightly-colored tail to attract mates.
- The terror-bear is an apex predator that prefers temperate and taiga forests.
- The skaptopus is a small jungle insectivore, and a good swimmer.
Wednesday, February 9, 2011
Concepts
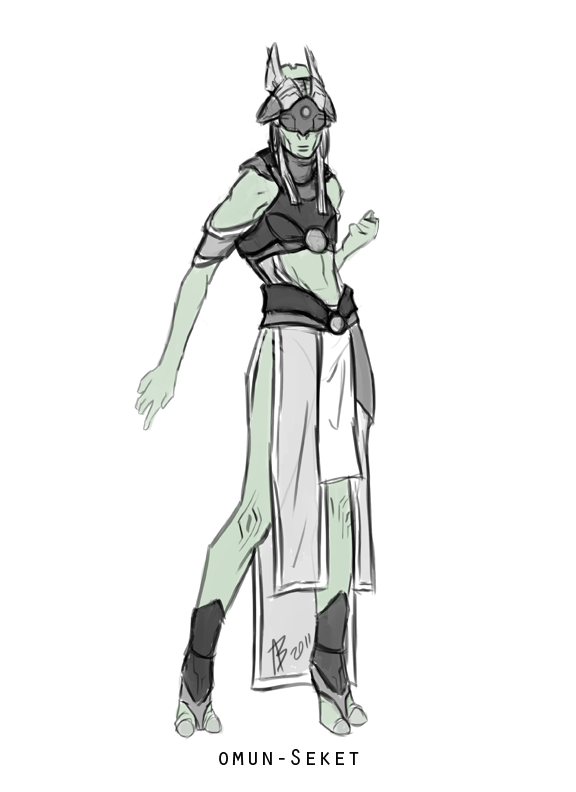
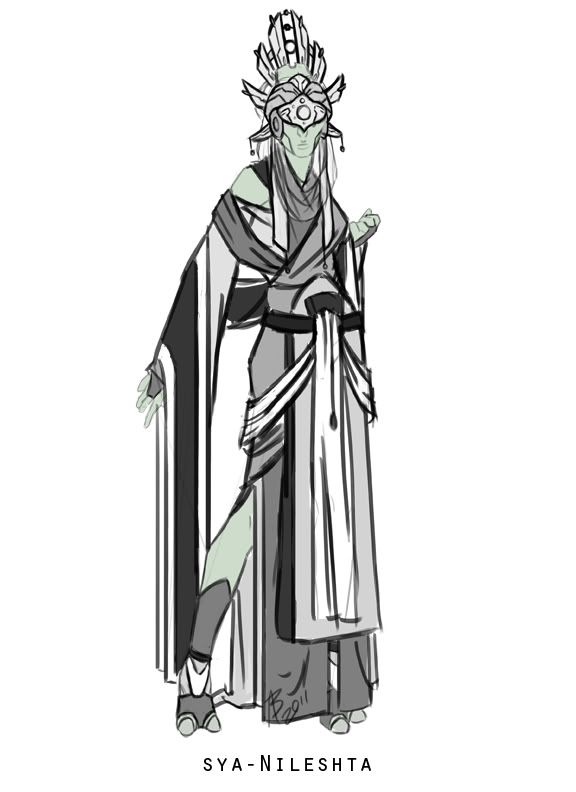
Continuing the concept work I've been doing lately, I moved on to fleshing out character designs for some of the Syäloä characters. Because my initial focus this time was clothing design, I simply re-used my temple guardian sketch as a base. It saves time and the pose--frontal, fairly open--works well for quick sketches.
The first design is for the High General of the Autocracy, Seket. This one was particularly challenging, because I needed to incorporate armor. What I finally decided upon was a modular design. The partial armor Seket has on is her everyday wear, which augments her strength without being cumbersome. More pieces can be added for combat.
The second design is for the Empress of the Autocracy, Nileshta, which developed much more easily. I got a lot of great feedback from Leah and Christine, which really helped the process. Christine even contributed a few touches to Nileshta's headdress.
Wednesday, October 27, 2010
Temple Guardian
For the last month or so, I've been working on a new painting featuring the Syäloä species. This one, unlike the last, is a full-body image. I really felt that doing so was necessary, because I wanted to show some of the similarities and differences between this species and humans, and show off more of this species' clothing and adornment.
This was a long, long, long painting. Most of that simply comes down to me changing my mind several times.
This was a long, long, long painting. Most of that simply comes down to me changing my mind several times.
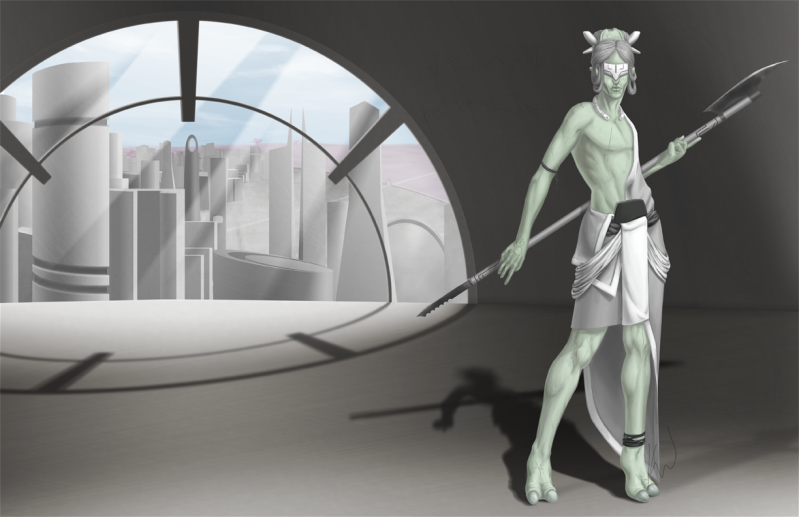
This individual is a seɪwä, or Temple Guardian. The design of the guardian came together easily. I'd already hammered out the anatomy of this species some time ago, so that just left clothing to figure out. I wanted to stick with something kind of like a kilt, so the challenge was making such simple clothing interesting, and keeping it all in greyscale (since they don't utilize color) while still making each piece look separate. I went through a lot of concepts, but the design you see here was the winner.
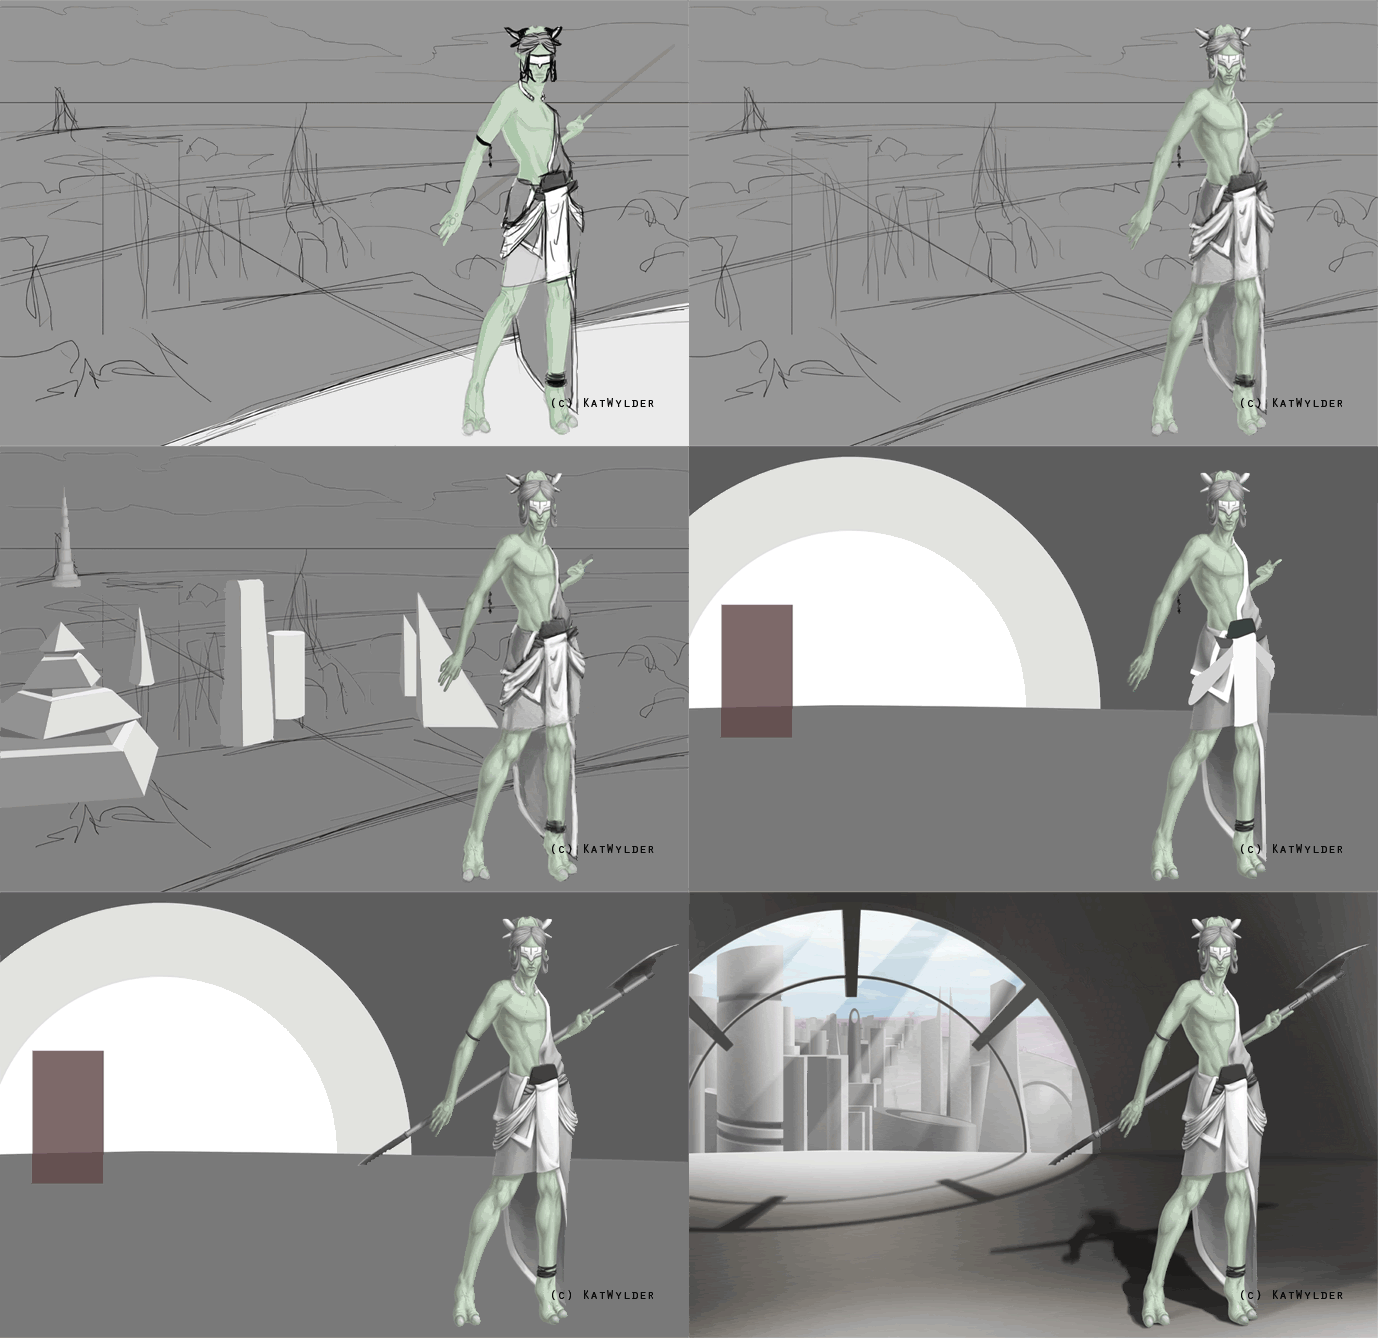
The background here isn't nearly as strong as the character design. Just scrawls roughly where I imagined buildings to be, with the figure standing on a patio that overlooks a city. I ran with this for a time, though, hoping it might come together, later. Sometimes that works out. Many times, it doesn't. In the process GIF below, you'll see some of the different background ideas I went through before finishing the painting.
After finally deciding I didn't like the open patio idea, I went into Blender (it runs nicely on my computer, unlike Maya), and blocked out a new scene. The rectangular shapes were my stand-ins for figures. At one point, I wanted to add another figure--a priestess--but didn't have time to do so. I feel that the final composition here is a lot stronger than what I had before. It also makes a tad more sense to have the character inside the temple. She looked out of place, just chillin' on a patio, before.
And just for fun, here are some additional narrative bits:
Seɪwä were picked from the elite of the warrior class to guard temples, their contents, and the priest class. Today, they serve a largely ceremonial position. However, the pole-arms they carry are not; all seɪwä are highly trained and keep their weapons sharp.
Labels:
alien,
digital painting,
environment,
exobiology,
landscape,
science fiction,
Syäloä
Monday, July 5, 2010
A New Species - Pt. 3
[Continuing from Pt. 2]
EDIT: After getting some great critique on deviantART, I completely reworked the background. It's a vast improvement.
Here's the final image! You can check it out here on my deviantART page.
EDIT: After getting some great critique on deviantART, I completely reworked the background. It's a vast improvement.
Here's the final image! You can check it out here on my deviantART page.
Labels:
alien,
digital painting,
exobiology,
figure,
lighting,
PhotoShop,
portrait,
science fiction,
Syäloä,
texture
Tuesday, June 29, 2010
A New Species - Pt. 2
[Continued from Pt. 1]
This particular lady is named
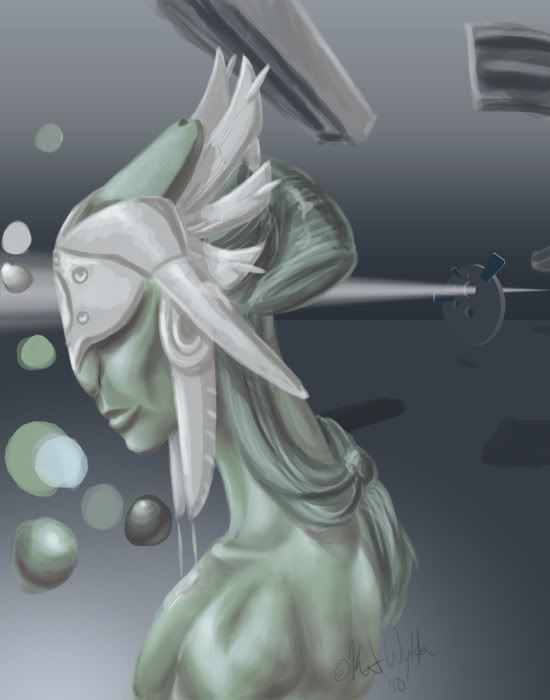
Today, I finished painting and smoothing the headdress, and added the decorative incisions.The big focus on this design is the form of the headdress as something of a wearable sculpture.

[Part 3 continues here: http://katwylder.blogspot.com/2010/06/new-species.html]
This particular lady is named
Today, I finished painting and smoothing the headdress, and added the decorative incisions.The big focus on this design is the form of the headdress as something of a wearable sculpture.

[Part 3 continues here: http://katwylder.blogspot.com/2010/06/new-species.html]
Saturday, June 26, 2010
A New Species
I've got a new species to add to the roster for my SF project. If you +devwatch me on deviantART, you've probably seen this species before. (No, not the woman--the fellow beside her.)
This creature is from a species called the Syäloä.
While they could be mistaken for humanoid at a distance, they share only basic biological similarities. One noticeable difference is that females of the species have no breasts. As they do not nurse their young, they have no mammary glands.
This creature is from a species called the Syäloä.
While they could be mistaken for humanoid at a distance, they share only basic biological similarities. One noticeable difference is that females of the species have no breasts. As they do not nurse their young, they have no mammary glands.
Labels:
alien,
anatomy,
color,
digital painting,
exobiology,
figure,
PhotoShop,
portrait,
science fiction,
Syäloä
Tuesday, March 2, 2010
"First Contact" Part 3
Continuing from Part 2, it's time to polish up the image and work on the environment.
I began by adding some bubbles. This part of the painting shows how important observation and research is. When most of us think of bubbles, with think of a perfect sphere, like a soap bubble. Underwater, however, that's not the case at all. Air bubbles in a liquid are kind of odd and deformed because of the liquid around them. That seems like common sense, but it's something I hadn't consciously thought of until I looked up reference images of air bubbles.
The next thing I noticed when looking at air bubbles, is how the light affects them. They're lit on top, of course, because of the sun shining through the water. But they also have highlights on the side opposite where the sun hits them, because it passes through the bubble. Lastly, there's a dark "rim" near the bottom.
The animation below shows how to paint bubbles, from start to finish. I only used two colors for every bubble: a color a few shades lighter than the water surrounding the bubble, and a color that's a few shades darker. Under the "Other Dynamics" tab of the brush settings, I had "Opacity Jitter" and "Flow Jitter" set to "Pen Pressure".

All the bubbles are done in the same way, with different shapes and sizes. I probably spent another half hour or so just painting the rest of them. Repetitive portions of a painting can seem like a pain, but if you decide to enjoy it, the work will be relaxing instead of tedious.
The next thing I did was revise the biolights on the creature. I didn't like how soft the original set was, so I reworked it. Making the lights a little more solid was a definite improvement.
For a little more interest, I decided to give this creature some little symbiotes, similar to the cleaner fish that attach themselves to sharks. They get some biolights, too.

Now it's time for the environment. Because this scene is deep underwater, and the landscape is in the distance from the creature, the environment shouldn't be heavily detailed. The lighting, too, dictates that it should be mostly silhouettes. Quick, sketchy brush strokes are perfect for making seaweed and rocks caked in silt.
The final bit of the painting is actually to remove something: the diver. Looking at the painting, so far, I decided that the diver was a distraction, and broke up the composition. Sometimes what you leave out is just as important to a painting as what you put it.
And voila, the final image!
I began by adding some bubbles. This part of the painting shows how important observation and research is. When most of us think of bubbles, with think of a perfect sphere, like a soap bubble. Underwater, however, that's not the case at all. Air bubbles in a liquid are kind of odd and deformed because of the liquid around them. That seems like common sense, but it's something I hadn't consciously thought of until I looked up reference images of air bubbles.
The next thing I noticed when looking at air bubbles, is how the light affects them. They're lit on top, of course, because of the sun shining through the water. But they also have highlights on the side opposite where the sun hits them, because it passes through the bubble. Lastly, there's a dark "rim" near the bottom.
The animation below shows how to paint bubbles, from start to finish. I only used two colors for every bubble: a color a few shades lighter than the water surrounding the bubble, and a color that's a few shades darker. Under the "Other Dynamics" tab of the brush settings, I had "Opacity Jitter" and "Flow Jitter" set to "Pen Pressure".

All the bubbles are done in the same way, with different shapes and sizes. I probably spent another half hour or so just painting the rest of them. Repetitive portions of a painting can seem like a pain, but if you decide to enjoy it, the work will be relaxing instead of tedious.
The next thing I did was revise the biolights on the creature. I didn't like how soft the original set was, so I reworked it. Making the lights a little more solid was a definite improvement.
For a little more interest, I decided to give this creature some little symbiotes, similar to the cleaner fish that attach themselves to sharks. They get some biolights, too.

Now it's time for the environment. Because this scene is deep underwater, and the landscape is in the distance from the creature, the environment shouldn't be heavily detailed. The lighting, too, dictates that it should be mostly silhouettes. Quick, sketchy brush strokes are perfect for making seaweed and rocks caked in silt.

The final bit of the painting is actually to remove something: the diver. Looking at the painting, so far, I decided that the diver was a distraction, and broke up the composition. Sometimes what you leave out is just as important to a painting as what you put it.
And voila, the final image!
Labels:
alien,
bubbles,
digital painting,
exobiology,
lighting,
science fiction,
underwater
Friday, January 8, 2010
"First Contact" Part 2
If you've read through Part 1 of this walkthrough, then the next part of this won't be too different. I'm just continuing to use the same techniques for the rest of the creature's body, filling in, smoothing, and refining the paint.
Again, I continue refining the paint, and then begin adding details and the counter-shading pattern on its belly. I've added a glowing lateral line along its side, as well. The process for the glow is pretty simple. I used the pen tool to make my line on a separate layer, and traced it with pure white. I made it a little fuzzy with a bit of gaussian blur, and then set the later to "Overlay" mode. And voila--glow!
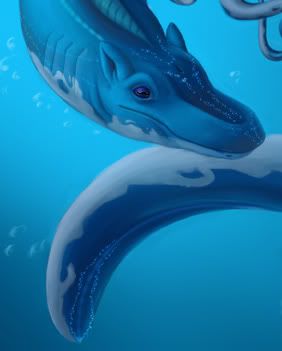
You'll notice that I'm painting directly over my rough sketch of the diver. That's okay, because right now I'm focusing on the creature. The diver is in front of it in the water, so I'll add him back into the picture later.
Here is some detail of the creature's arms, again using the same painting technique that I've employed on the rest of its body.
Now comes a fun bit--and also an easy one. I'm adding biolights to the creature's head and its tail. To do so, I simply create a pattern of white, slightly fuzzy dots across its skin the pattern I want. Once that's finished, I just duplicated the layer and set it to "Overlay."

And that finishes off the creature! Part 3 finishes up the rest of the painting.
Labels:
alien,
digital painting,
exobiology,
lighting,
science fiction
Thursday, December 31, 2009
"First Contact" Part 1
I'm gonna start things off with my process for "First Contact" as requested by my buddy Rogue.
The first step is the drawing. I'm working 100% digital on this one, sketching with my tablet directly into PhotoShop. Since my lines won't show up in the final image, I can be as messy as I like. The important thing is composition.
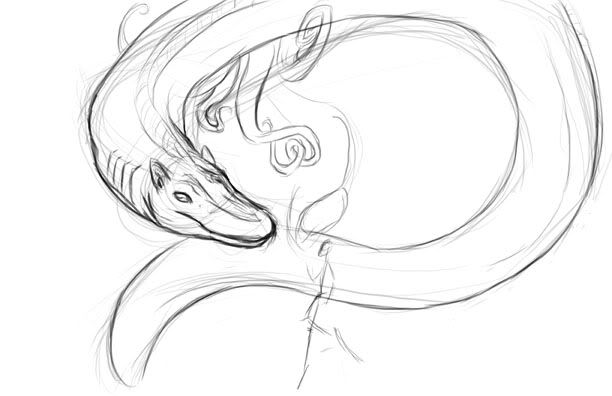
I used a lot of references for this. I have a sheet for this creature, specifying its anatomy. I also spent some time browsing images of octopi to get a solid idea of how the tentacles should be positioned. The one thing I wasn't satisfied with is how much of the "canvas" the creature takes up--I decided it would be better to leave the environment more open.
In underwater scenes, lighting is crucial to make your scene believable. Since I'm not a diver, I went with photo-refs again to determine the play of light. I found this photo via Google images., and mimicked the lighting as a starting point. The background will change more, later.
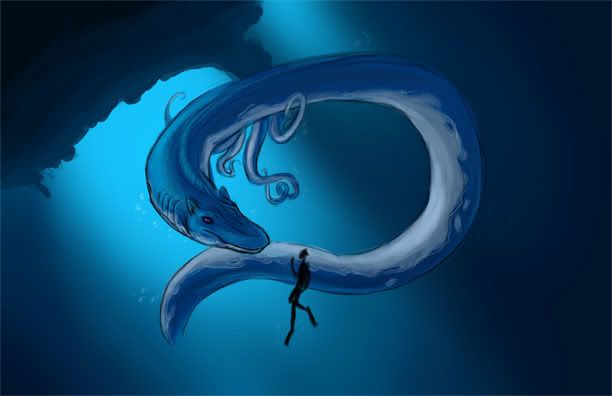
I have my lines on a separate layer, with the rough colors underneath. It's pretty flat now, only serving as a guide. I added a few sketchy bubbles to suggest movement. The background is made with simple strokes blurred to give a fuzzy "spot light" look, as in the ocean photo.
With the rough colors done, it's time to start the fun part--painting!
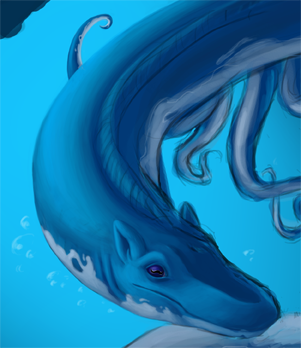
I have the "Other Dynamics" setting for my brush turned on, allowing the pen pressure of the tablet to control the opacity and flow. I tweak those settings manually, as needed. But usually, I leave the main opacity at about 60% most of the time, and slowly build up layers of color. Once I've got a base of smooth color, I start adding value and adding complements.
This is another really crucial element of a painting--one that a lot of people neglect. Wherever you have a shadow, you need to include in it the complement (i.e. opposite color) of your base color. By blending orange into my dark blue, I can get a richer shadow color.
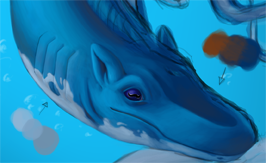
Part 2 continues this walkthrough.
The first step is the drawing. I'm working 100% digital on this one, sketching with my tablet directly into PhotoShop. Since my lines won't show up in the final image, I can be as messy as I like. The important thing is composition.

I used a lot of references for this. I have a sheet for this creature, specifying its anatomy. I also spent some time browsing images of octopi to get a solid idea of how the tentacles should be positioned. The one thing I wasn't satisfied with is how much of the "canvas" the creature takes up--I decided it would be better to leave the environment more open.
In underwater scenes, lighting is crucial to make your scene believable. Since I'm not a diver, I went with photo-refs again to determine the play of light. I found this photo via Google images., and mimicked the lighting as a starting point. The background will change more, later.

I have my lines on a separate layer, with the rough colors underneath. It's pretty flat now, only serving as a guide. I added a few sketchy bubbles to suggest movement. The background is made with simple strokes blurred to give a fuzzy "spot light" look, as in the ocean photo.
With the rough colors done, it's time to start the fun part--painting!

I have the "Other Dynamics" setting for my brush turned on, allowing the pen pressure of the tablet to control the opacity and flow. I tweak those settings manually, as needed. But usually, I leave the main opacity at about 60% most of the time, and slowly build up layers of color. Once I've got a base of smooth color, I start adding value and adding complements.
This is another really crucial element of a painting--one that a lot of people neglect. Wherever you have a shadow, you need to include in it the complement (i.e. opposite color) of your base color. By blending orange into my dark blue, I can get a richer shadow color.

Part 2 continues this walkthrough.
Labels:
alien,
digital painting,
exobiology,
lighting,
science fiction
Subscribe to:
Posts (Atom)


