
The first step is the drawing. I'm working 100% digital on this one, sketching with my tablet directly into PhotoShop. Since my lines won't show up in the final image, I can be as messy as I like. The important thing is composition.
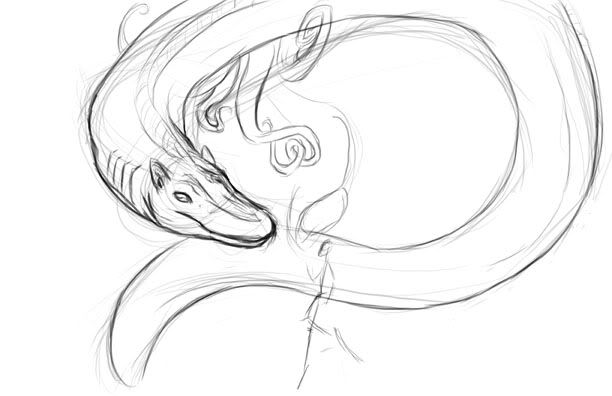
I used a lot of references for this. I have a sheet for this creature, specifying its anatomy. I also spent some time browsing images of octopi to get a solid idea of how the tentacles should be positioned. The one thing I wasn't satisfied with is how much of the "canvas" the creature takes up--I decided it would be better to leave the environment more open.
In underwater scenes, lighting is crucial to make your scene believable. Since I'm not a diver, I went with photo-refs again to determine the play of light. I found this photo via Google images., and mimicked the lighting as a starting point. The background will change more, later.
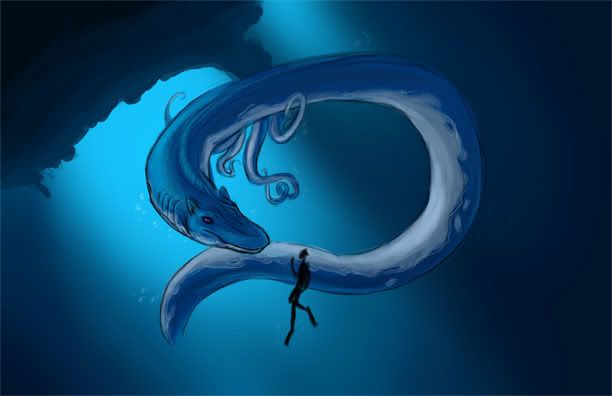
I have my lines on a separate layer, with the rough colors underneath. It's pretty flat now, only serving as a guide. I added a few sketchy bubbles to suggest movement. The background is made with simple strokes blurred to give a fuzzy "spot light" look, as in the ocean photo.
With the rough colors done, it's time to start the fun part--painting!
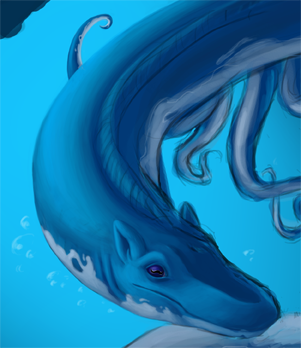
I have the "Other Dynamics" setting for my brush turned on, allowing the pen pressure of the tablet to control the opacity and flow. I tweak those settings manually, as needed. But usually, I leave the main opacity at about 60% most of the time, and slowly build up layers of color. Once I've got a base of smooth color, I start adding value and adding complements.
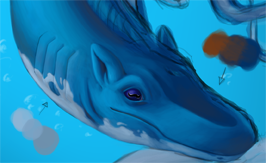
This is another really crucial element of a painting--one that a lot of people neglect. Wherever you have a shadow, you need to include in it the complement (i.e. opposite color) of your base color. By blending orange into my dark blue, I can get a richer shadow color.
Part 2 continues this walkthrough.
0 comments:
Post a Comment